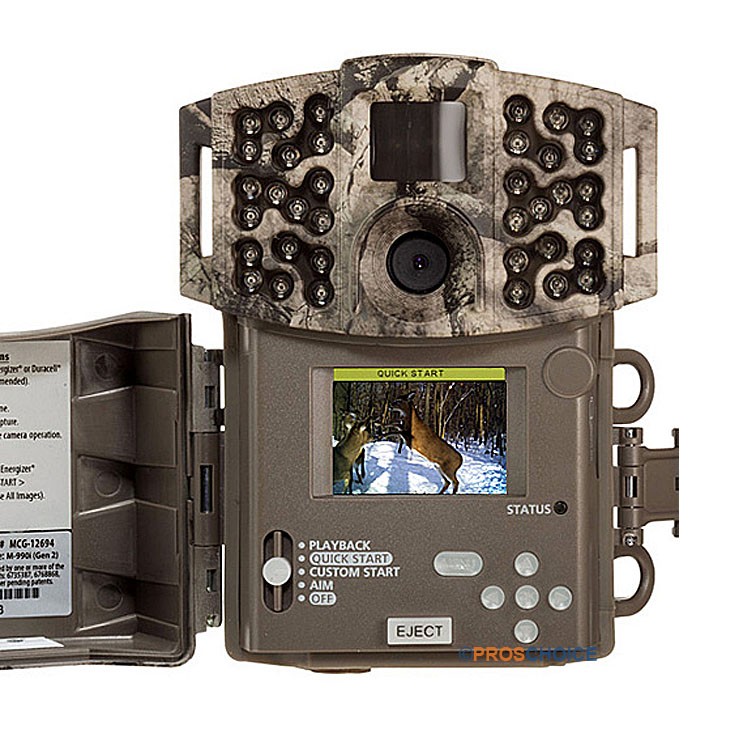
If you are a fan of sports photography, game or simply want to take great photos of wildlife, you will probably be surprised by the possibilities trail cameras provide you with. Especially with game hunting, trail cameras have become hugely popular due to their usefulness – they are weatherproof and designed for extended outdoor usage, without a person having to press the buttons in order for them to work. They are especially used by hunters for surveillance, but can be used in other purposes as well. If you are starting to be intrigued by all this talk, keep reading and find about tips and tricks that will help you better shots with your trail camera.
Motion Sensor
The first thing about trail cameras is to get to know them. You have to know how they work in order to better understand them and get better shots. For example, many people think that these cameras emit infrared beams which take pictures when activated. Even though this technology does exist (it is called Active Infrared, or AIR), it is not used in trail cameras. Trail cameras use Passive Infrared, or PIR sensor, which are different from AIR because they get the information about temperature and motion. The camera takes a picture when the sensor detects difference between the surroundings and the moving object, be it an animal, bird or even plants and trees. This knowledge will help you in eliminating false triggers because you should set up your camera in undisturbed places.

Good Orientation
Speaking of the positioning, the main thing about trail cameras is to set them face north. This very common mistake of placing it in the wrong direction can cost you great shots, but luckily for you, now you know the secret. And the explanation is this: if you ensure this position, the sun’s path will not move across the sensor and thus, will not cause false triggering. Additionally, this kind of position will improve daytime image quality because there will not be the sun’s glare in the images. You should also place your camera at a 45-degree angle to the trail in order for the animal to be in front of the camera and to elongate the detection zone. This way, you will not miss the animal’s movement and get a great picture instead.
Time-lapse Mode
Time-lapse mode is something most cameras today have. This mode implies taking pictures at set intervals, no matter if it has previously detected movement or not. Some cameras even have both features, which means that they can take photos in regular intervals and when there are some movements as well. This important feature will allow you to monitor greater areas and get a better picture (pun intended) of how and where animals live and move. Narrow the focus by deploying it in normal mode and get better opportunities for your “ambush point” with the help of this great feature.
Security
Security is very important when you have a trail camera – what you need is to get the important information about wildlife, rather than hand them over to some opportunists. In order to ensure your trail camera is not taken by some thieves, do not use a strap to mount the camera to a tree. This frequent mistake is visible from far away, so what you should do is to use a camera mount, which will eliminate at least the half of the risk. You can even make it by yourself.
And finally, keep in mind that you should not check your camera too often. Checking once a week is okay if you want to get great shots, because if you do it more often you will disturb the site and miss great opportunities. Leave the nature to do its own business, as well as your camera.


